Posted on

How Simple is that!!

So, I got the shipping note that my 2016 Simple was on the way, and I checked the USPS website daily until they said my parcel had arrived and then it was the turn of Parcelforce until I got the note on my doorstep that it was in the local depot.  I phoned the depot to see how quick it could be delivered and they said you can collect it…. I was in the car before the lady at the depot had put the phone down!

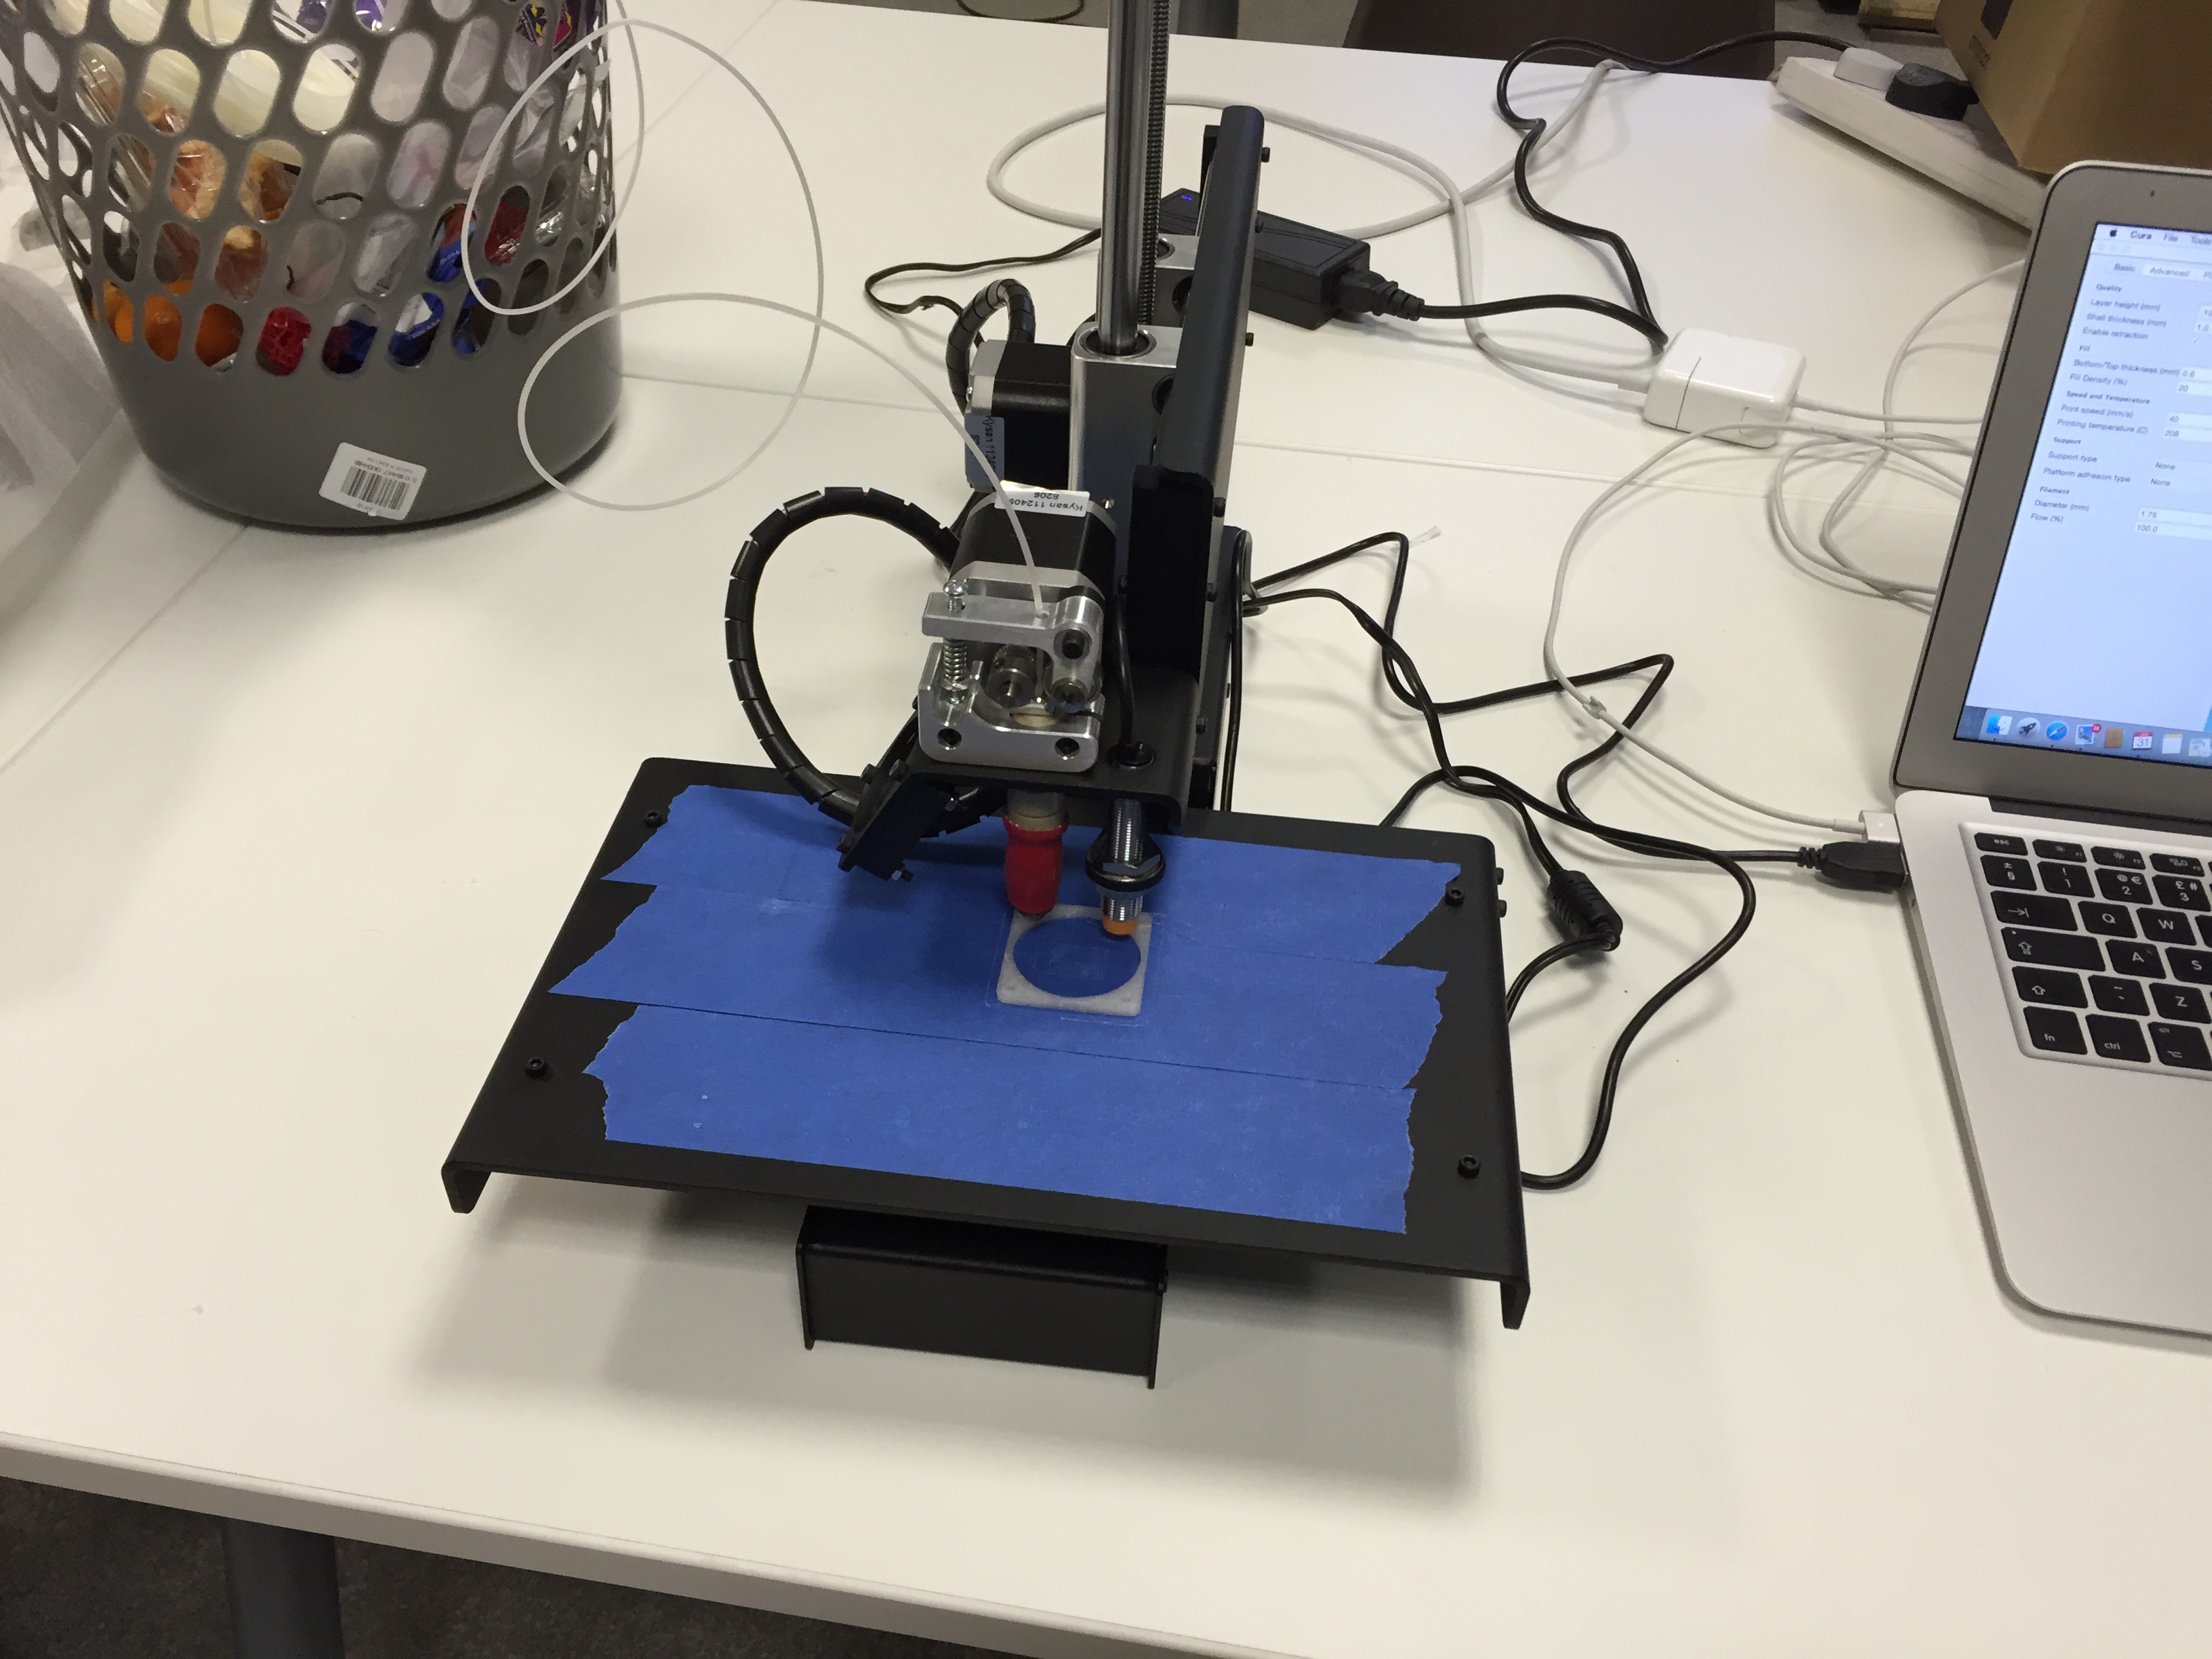
So I got my parcel <insert squealing and excitement here>… I knew there was some assembly required, but some serious thought had gone into this.  The bed assembly consists of the X motor, X end stop, mounting plate and the bed, already with the belt fitted and tensioned.  It required the connection of the motor wire and the end stop wire.  Four screws and you’re good to go!

2016-11-27-19-32-03The box contained a neat little spool of filament that sits nicely on the spool holder.  The thread on the spool holder is such that the turning spool will not loosen it, another well thought of idea.

The videos on the website give clear instructions on the first print and showing you round the menus on the touchscreen.

This printer is really an order of magnitude better that the original Simple.  Don’t get me wrong, I love my Simples (I have 3) and they are real workhorses, but there is always a bit of tinkering required to get the best quality out of them if you move them around.  There are loads of community mods for the Simple (I’ll call it the v1 from now on), but the 2016 doesn’t really need any.  I’d like to see a heated bed, but with the rails and stuff, that may not be the easiest add, but for PLA it doesn’t really need one.

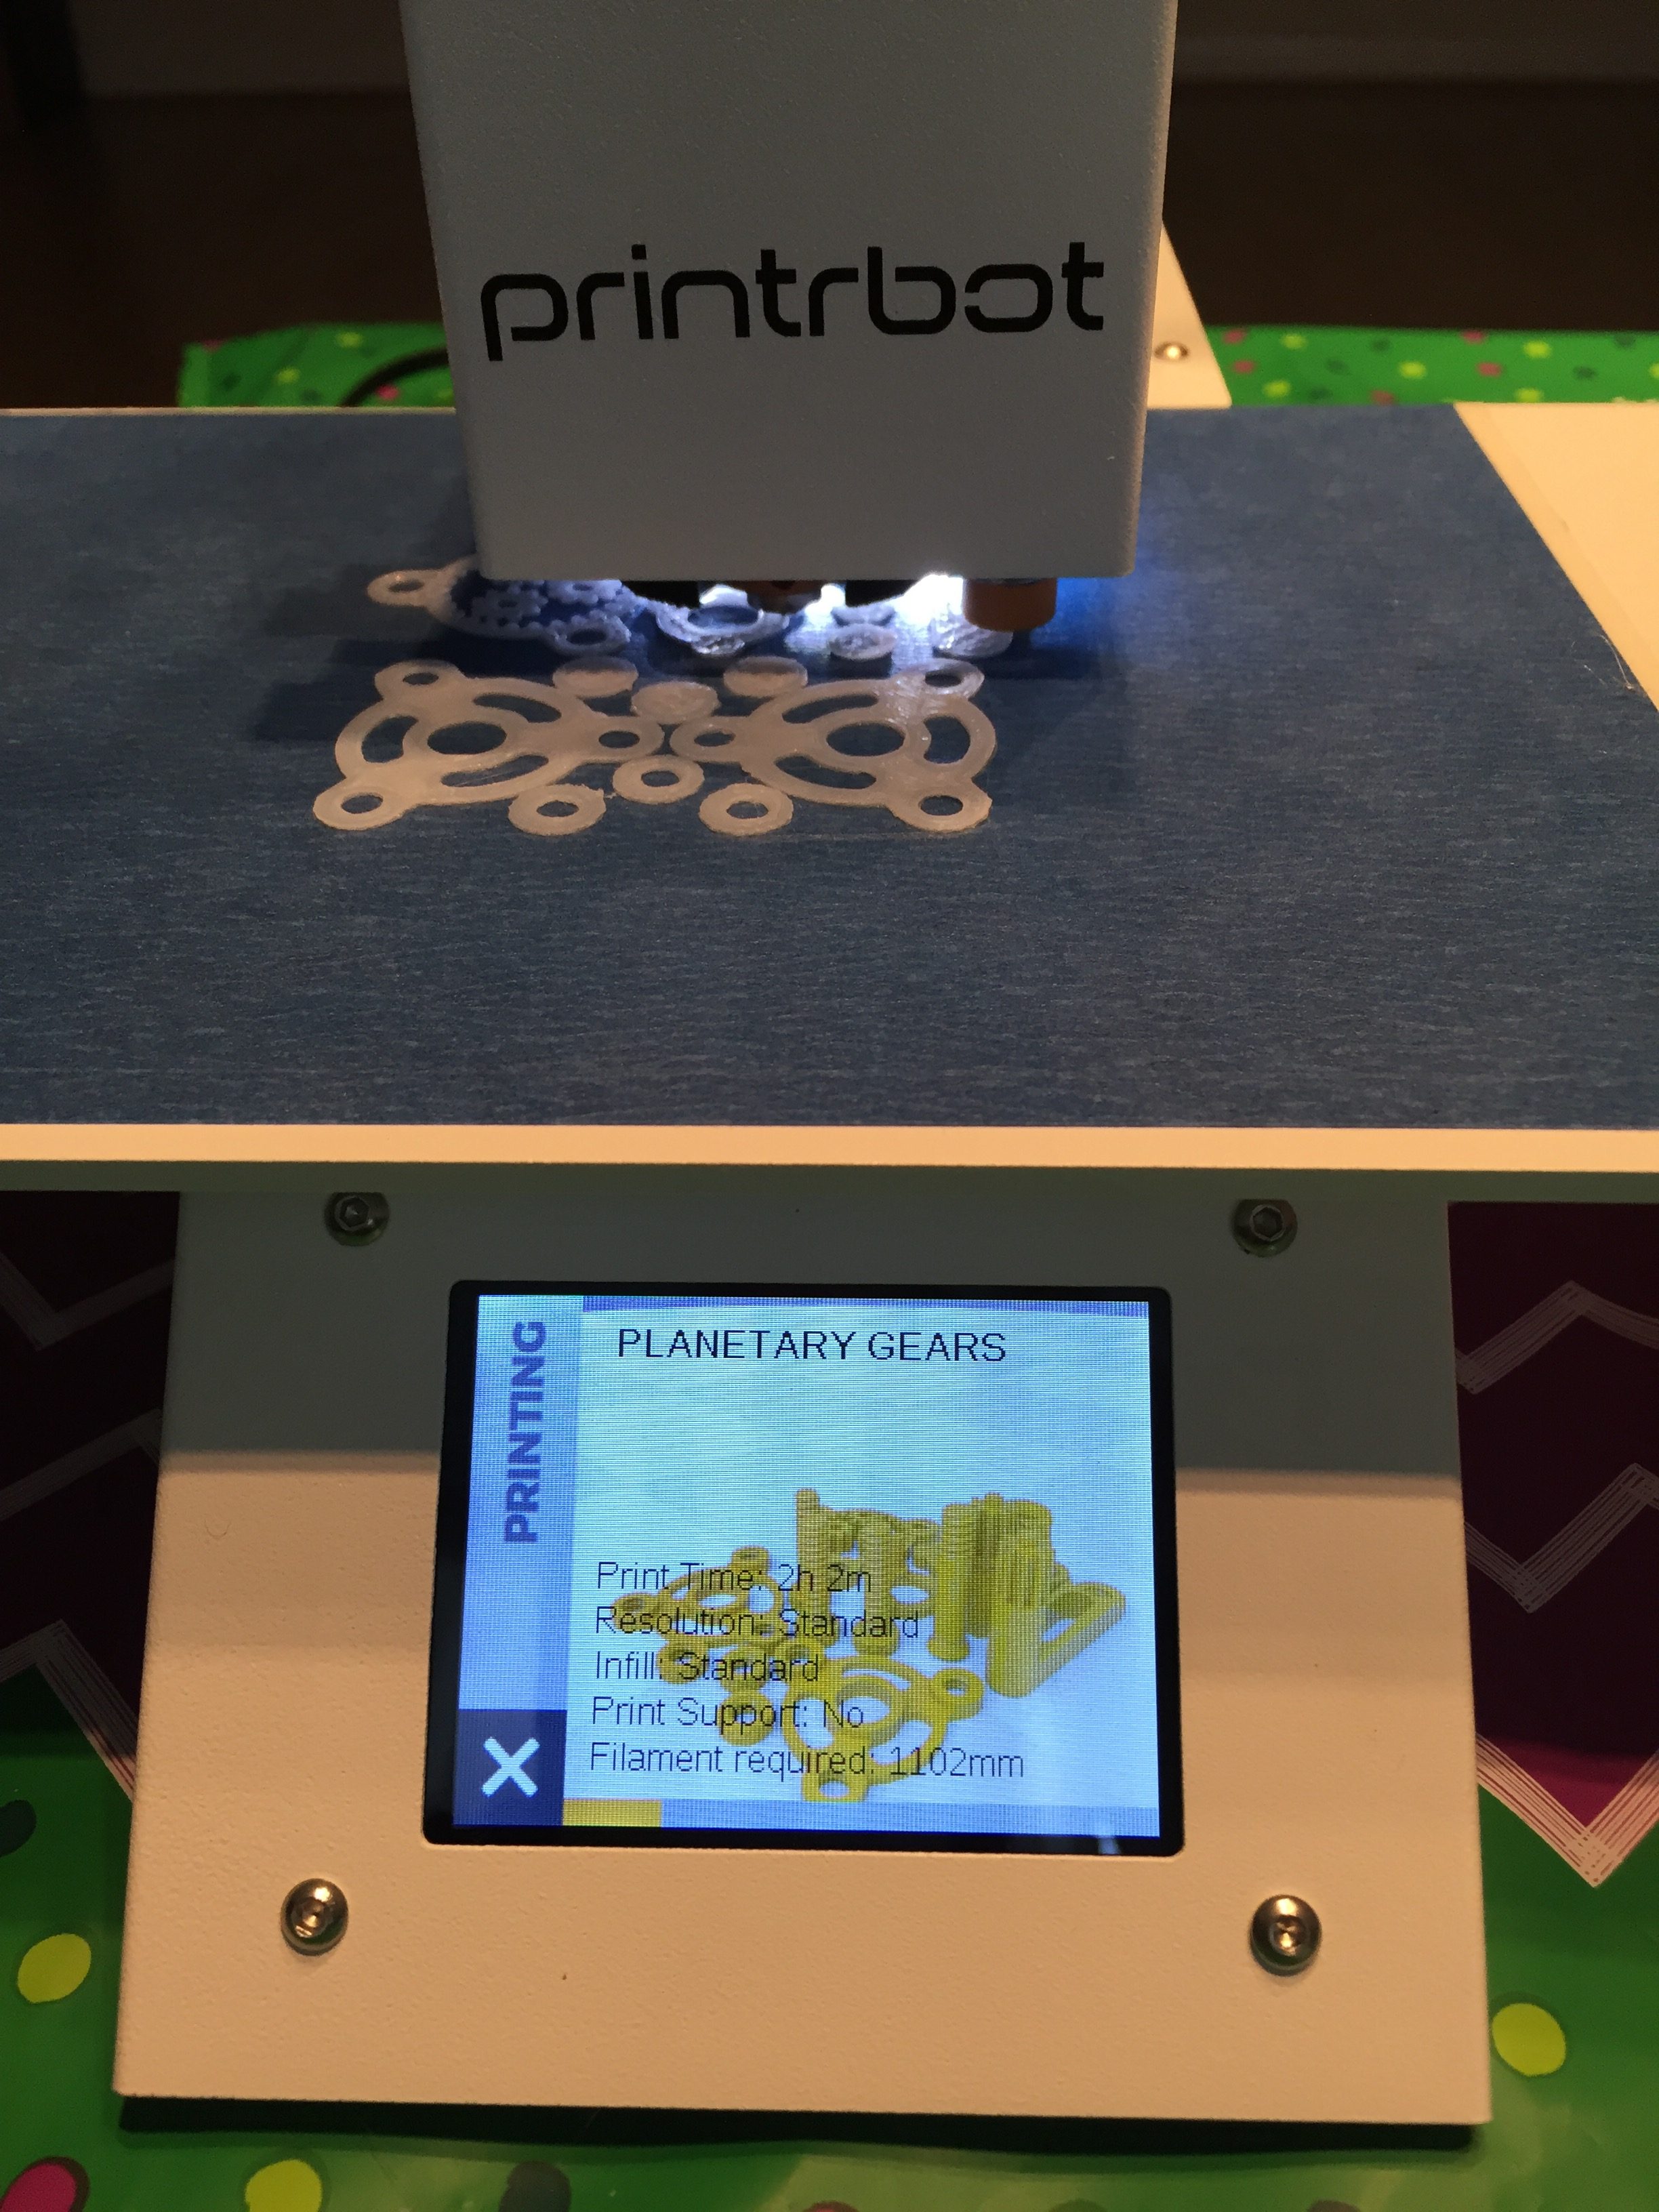
The Touch Screen LCD make this a truly standalone printer.  No hunting through menus for this printer.  Clear buttons and icons make navigation through the options so simple.

The two wiring looms on the v1 has been replaced with a tidy ribbon cable.  It makes the whole printer look more ‘grown up’ than it’s predecessor.  The ribbon is routed along the inside of the Y arm and runs the connections for the extruder assembly and fan2016-11-26-09-13-46.

The 2 individual Y/Z bearings, joined by motor mounting plate has been replaced by a seriously hefty piece of aluminium.  This gives more stability and really looks the business.

This is so much more than just a printer though.  The new controller board, based on the Tiny G of CNC fame make the printer a lot quieter in it’s movement and the motors barely get more than warm.  The cloud based slicer and repository, with direct ties into your Thingiverse account and your saved items.  All the things you saved as a ‘I need to print this’ can now be dropped, over the air, onto the printer and just printed.  No more, downloading, slicing and printing.  Import the project to your cloud account direct from Thingiverse and you’re off and running.  Once the files are on the printer, you can print without a wifi connection, just swiping on the touchscreen and pressing the print button.

2016-11-26-08-26-11I’ve had this printer a couple of days and I really felt the urge to write about it already.  It is a major step forwards, not just for Printrbot, but I think there will be more people using this technology on other printers.  I’d love to try and retrofit the G2 and LCD to a v1, to see if the performance is just with the controller or the printer as a whole. (If you have one spare guys-you know where I am :-)).

I’m sure I’ll have more comments as I get to grips with it more.

Well done Brook and Team!


Posted on 1 Comment

Need a Helping Hand?

Need a Helping Hand?  Isabella did, so we did our best to help her out.  I first met Isabella back in April 2015.  I was manning a stand at a EUL Docklands Open Day and i’d made arrangements to meet her there, with her mother and uncle.  I wasn’t too sure what to expect, I’d been a member of the Enabling the Future (enablingthefuture.org) volunteer community helping people to be fitted with a prosthetic hand, for over a year, but this was the first real contact I’d had with a recipient.

Isabella was born with Symbrachydactyly, which is a congenital (present at birth) hand anomaly, Isabella Handwhich affects a single upper limb.It is characterised by short,stiff, webbed or missing fingers.The underlying muscles, tendons,ligaments and bones are all affected.  This occurs in one out of 32,000 births.  

Isabella is a bit of a character.  Instantly likeable and a very bubbly personality, she seems to take her disability in her stride.  I took some measurements and, using the Hand-0-matic tool on the E-nable website, I created a set of files and got printing!

Now her original request was to make it colourful, but the initial files produced gave me a hand that would fit me (I’m 53 and she’s 8), so the scaling was a bit out.  But the downside was that it used all my pink filament!

Next I went for a thermoformed gauntlet (forearm piece).  It prints flat and then, when heated in in 2015-05-14 07.18.15boiling water, can be formed around the arm, making a better fit.  Then I used this gauntlet and scaled it to fit the palm and the fingers.  The result was a nice, black, silver and gold hand in Colorfabb filament.

Isabella and Mark, her dad, popped over to my house on a Saturday morning and we thought we’d give it a try.  Looking nice is one thing, being practically useful is something completely different.

2015-05-14 19.07.56We sat in my kitchen and strapped the hand on for the first time.  We checked the padding, the tension on the screws and then, finally, we were ready for a trial run.  By flexing her wrist she was able to open a close the fingers.  That worked fine so now it was time to try and pick something up.  We didn’t want anything breakable or too heavy, so we settled on a plastic spray oil container.

The result was a complete success and she took the hand home.  It made the local press, Evening Standard, BBC South West and ITV news.  Mark has made some post-fitting changes to improve the fit and the grip and she’s been getting on like wildfire.

I saw her again, last Saturday, as it’s been getting on for 6 months now, and I wanted to see how she was getting on.  The current hand still fits okay, but there have been some more recent design changes from the fantastic designers involved with Enabling the Future, so we’re going to have a look at a few of those to see if we can come up with something new for her.

2015-09-12 17.05.22Because of that, I thought we’d try and cast a copy of her hand using Alginate and Plaster of Paris.  We had some fun, mixing and casting and came up with the picture on the left.

To be honest, I was really surprised how it came out, but it did feel a little bit on the fragile side, so I got my Occipital Sensor scanner out and ran a quick scan and the printed a plastic copy for day-to-day testing and fitting.

2015-09-13 17.58.31 I have to say that, with the technology available today, the whole process from casting to scanning to printing was completed in a number of hours.

The technology from companies such as Printrbot, Occipital (and Apple) and Filament from Colorfabb (and others) made all this available to makers and tinkerers and, hopefully, will enable e-nable hands to be fitted to more people.


Posted on

FabLab London Printrbot Metal Simple Build Day

FabLab London
FabLab London

It was a cold morning at the end of January when we turned up at FabLab London for the first Printrbot Metal Simple Build day of 2015.  Even a little

drizzle was not going to dampen any builder spirits today!  We started on time and the guys were all set and ready to go.  We had 3 build ‘teams’ although, only one was really a team – with our young Maker on the team!

Kits were unpacked and construction started.2015-01-31 11.12.46

Now we work pretty much to the Printrbot Build document, but we the added experience of several printer builds under our belts.

Now the kits come with Allen keys, but we throw in some pliers and side cutters, a USB flashdrive with the latest versions of the Open Source software Printrbot recommend and, most importantly, some 3D printed feet for the printer in Java Ninjaflex.

The build went pretty smoothly.  By myself, I can build one of these in 2 1/2 hours, but the more people you have, the slower it becomes as you try to keep people in line with each other.  Even so, by lunchtime things were starting to look like printers!2015-01-31 14.14.07

The afternoon session started and we soon had all the printers assembled and ready to go.  Then we got to the configuration…. Now I love Cura for 3D printing at the moment (I do go through phases of having different favourites) but the Pronterface UI for printer control has such a small font and I haven’t found a way to make it larger, so we started with Repetier Host to get the configuration started.

Now 3D printing is all about the first layer (well not all about, but any printer will tell you how important it is) and with the induction sensor, there is a fair amount of trial and error to get it right.  So you print a bit, then stop and adjust the Z probe and then print some more and adjust the Z probe and it may take about 20 minutes until you have the ideal first layer.2015-01-31 15.16.30

Then we can switch to Cura and we’re ready for some serious printing.  Now the guys that write this are very active on the forum and will happily talk about issues and to answer questions.  The software is now the recommended software to use with Printrbot printers and the New Printer Wizard will take you through selecting the right printer, which will set the dimensions and nozzle diameter and some of the finer points

It was, and always seems to be, a fun day for everyone.

We will be trying to run these regularly and, in my mind anyway, it’s a good way to get started with 3D printing and to understand how your printer fits together.


Posted on 2 Comments

Building with Dragon Hall Tech Hub

It was a Monday in the London Hackspace, during a 3D Printer Meetup, that I first heard of Dragon Hall from James Dellow. He’d come along for a look to see what is was all about and to see how it would work with the young people at Dragon Hall. Now James had got himself a One-Up 3D printer and asked if I would build it for him. I’ve built more that a few and was glad to see someone else’s design.
The long and short of that was it ended up, with the use of a Printrbot Simple wood kit, as a much more robust, longer Z axis, Simple, but I diverse.
The guys from Dragon Hall ordered 3 Printrbot Simple kits from the US and the plan was that I would work with them to build them and then, going forwards, we would introduce some simple CAD and follow the full 3D print process from CAD through to holding the idea in your hand.. In my mind, one of the things that makes 3D printing so incredible.

2014-03-25 19.48.47 And then then kits turned up. Three of them, in a box, six team members, we’re looking at two to a printer (to  start with!). So we get to phase one, un-boxing. What the guys weren’t prepared for was the separating the  wood pieces and sanding off any rough edges. That kept them occupied for a while, amid complaints about the  quality of the cheap knives I’d picked up at the last minute. Finally we were ready for the first part of the  construction. As always, when you have groups of people doing the same thing together, competition sets in.

For the first stage, I wanted to get the base complete and, even though they were looking at the same sets of  instructions, you wouldn’t have believed it.  It was a good thing that I had a load of extra zip ties.  Nothing  major, but some things have to be the right way round.  So wire cutters and zip ties saw a lot of action during  the first (and second) sessions.

By now the team competition was in full flow and, as chance would have it, the team that had raced on had to redo the most, so by the end of session one the slowest and steadiest team came in first.

2014-04-08 19.08.27

For session two, it’s Y axis time… lots of cable ties, lots of bearings and, as we’ve almost come to expect, lots of room for error.  We were down a couple of people this week, but the guys rallied on and, after twice as many cable ties as come in the kit, by the end of the session we had something that looked like a Printrbot Simple.  These were the 2013 model, without the aluminium extruder and the wooden sliced version does take a bit of putting together.  For some reason, people think that 1/4″ is the same as 6mm.  Heads up, it’s not… it’s 6.35mm so when you build the extruder, by three slices in, your filament path is 1mm out.  Doesn’t sound a lot, but it’s enough.   Bits of sandpaper to the rescue and everything was together ready for wiring.

We missed a week for Easter and then we were back for the final session.  Due to scheduling conflicts we were down to 2 of my regular team plus another couple of stand-ins who wanted to learn 3D printing.  We were rocking…

Wiring was run, checked (re-run!).  Endstops were triggered, connected properly and tested again, motors were run and, my slow and steady team (only one team member left at this point) was up and printing…The Winner!

2014-04-22 19.49.53

Team two, ably assisted with our extra people were next and finally, the printer I was working on – only because the short notice scheduling change – was running as well.

But just building isn’t all you need.  We had to get Repetier downloaded and then configured.  I have some Slic3r settings I use, some I put together for a slow and steady print and some by Naomi from RoboSavvy, faster and more adventurous.  Then it was welcome to the world of Thingiverse.  What do we print?  How big is it?  How long will it take?  What colour filament do I use?  All essential questions in the tech age of 3D printing!

Considering there were differing levels of mechanical skill, the builds went surprising well.  Those guys worked really hard and, I know there was some skepticism about 3D printing, but I think now, when the build has been completed, all those doubts have been put aside.

This technology is, and I’m sure a lot of people agree, the way forwards.  When I was at school (and I’ve told this story a million times), the choice was woodwork or metalwork.  Now, with Arduino’s, Raspberry Pi’s, 3D printing and all of the other technology of the last few years,  the young people of today are the inventors and techno geeks of tomorrow and we should do what we can to encourage this.

Posted on

Putting it Together – Build Day

So on Saturday March 22nd 2014 I started what I hope will become a fairly regular thing – A Printrbot Simple Build Day.  It was held at C4CC near Kings Cross Station (it’s a cool, designy/techy space, tied in with some universities).

the room, initial layout - soon changed
the room, initial layout – soon changed

The day started early, it was my first one and it needed a bit of organising.   Okay, a lot of organising, I laid out the tables and then, as soon as people started turning up, moved them all around.  We settled on an L shape with a printer table on the 3rd side and the screen on the last side of the square.

I received the kits from RoboSavvy along with some Simple Towers and Aluminium extruder kits.

The A team - first to print
The A team – first to print

There was no-one that I would call a complete technical novice, but this is a fair part of mechanical build and some simple plug and connect wiring.  Nothing particularly difficult, but it does need some knowledge of the best way to put things together.  All in all, a good bunch of people with the skills and determination to put the printer together and to print something.

Everything was pretty much a free-for-all, and I was on hand to point out some of the ‘gotchas’ that can catch you out and have you taking

intense concentration

it apart to rebuild it.  Also, supporting Printrbot for EMEA, I had a stock for spare parts for the small broken/missing/DOA parts.

Some people were quicker than others, but all managed to build, configure and print, which was what the aim was.

Did everyone enjoy themselves? Well I know I did and the comments posted on the RoboSavvy site seem to give the impression that the participants did.

There’s another one coming along in a few weeks and, if that’s works as well, maybe we can get more people printing..